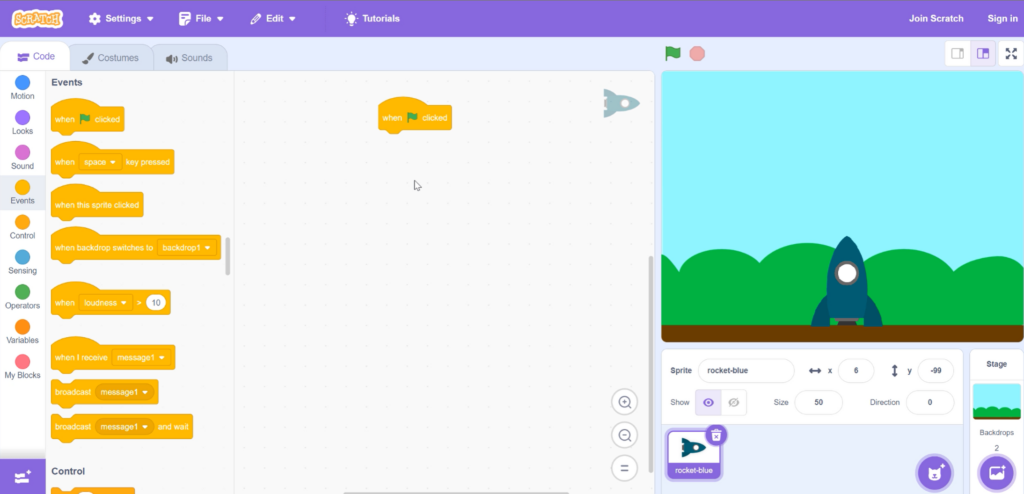
2. From the Events code block category at the left of the coding area, select and drag the ![]() block into the coding area.
block into the coding area.
This code block tells the program to start when the green flag above the Stage is clicked.

Rocket Blast Off
To start this project, first go to the Scratch website at scratch.mit.edu.
Although you don’t need an account to do this project, you will need an account to save your projects.
Accounts are free so we recommend you create one at Join Scratch
Let’s start a new project
Instructions:
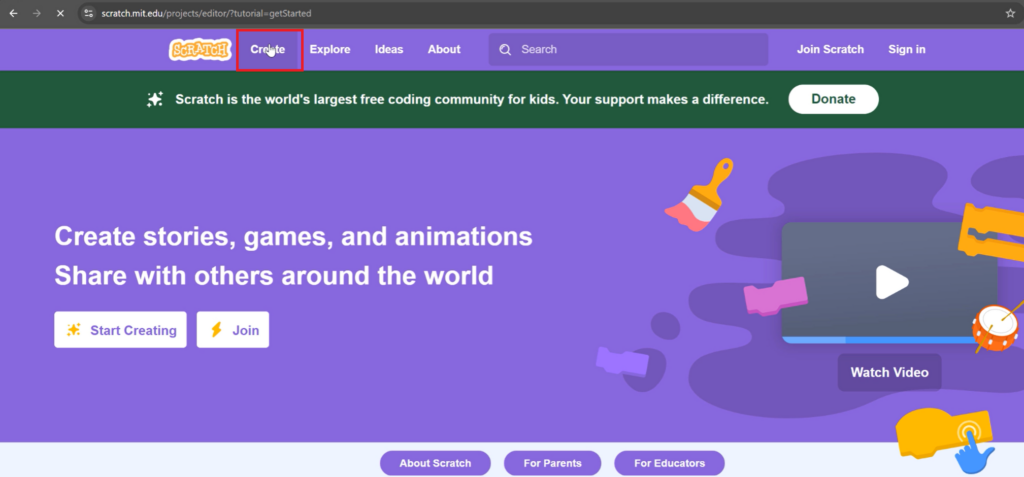
1. To start a new project, click “Create” on the top navigation menu.
Delete the Cat sprite
Next, let’s delete the Cat sprite. In Scratch, a sprite is an object or character that moves around the stage. The stage is where the Scratch project or program runs.
Instructions:
1. Go to the Sprites list at the bottom right of the screen then delete the Cat sprite by clicking the trash can at the upper right of the Cat sprite.
Add the backdrop
Now, let’s add a backdrop. A backdrop is the background for a project.
Instructions:
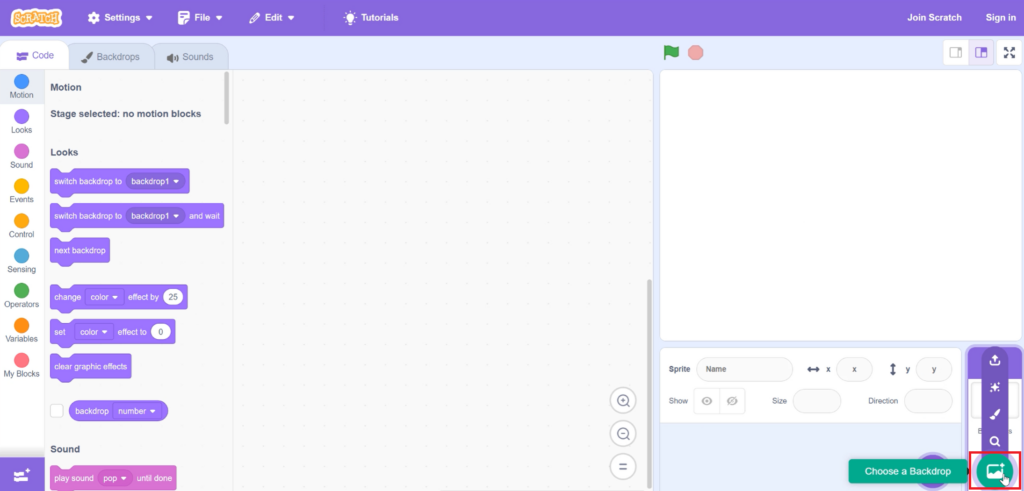
1. Click the “Choose a Backdrop” icon at the bottom right of the screen.
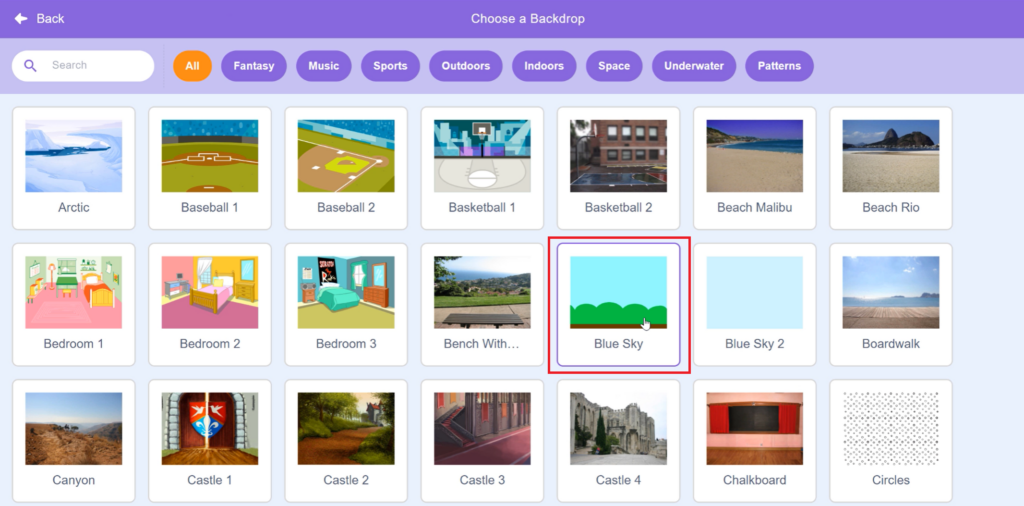
2. Select the “Blue Sky” backdrop.
The backdrop should now be displayed on the stage.
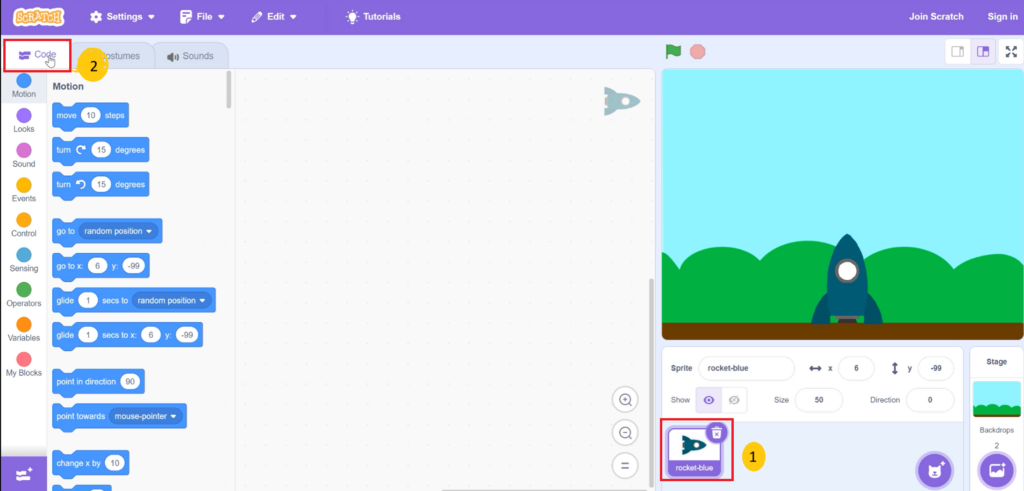
Add the rocket sprite
Now, let’s add a sprite.
Instructions:
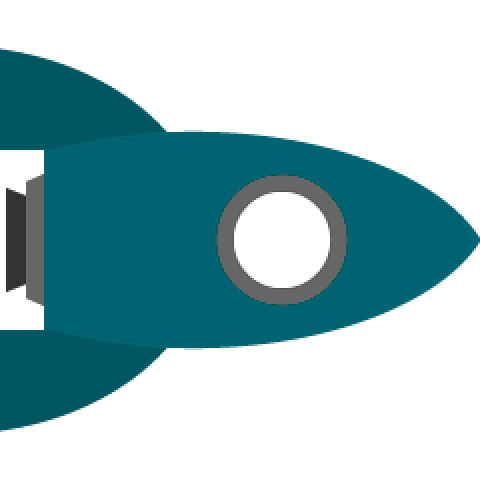
1. To get the rocket image that is used for this project’s sprite, go the following link
2. Next, click the arrow at the upper right of the screen then select “Download Image” to save the image to your computer.
Make sure to remember which folder on your computer you saved the image since you will need it shortly.
3. In Scratch, click the “Choose a Sprite” icon at the bottom right of the screen then select “Upload Sprite”.
4. From your computer, select the rocket sprite you downloaded in Step 2 then click Open.
The rocket sprite should now be in your Sprites list in Scratch.
5. In the Sprite details section set the Size to 50.
6. Set the Direction to 0. This points the rocket towards the sky.
7. Finally, move the rocket to its starting position by dragging the rocket to the ground.
The stage should look like the illustration below.
Code the rocket
We are now ready to code the rocket. Our goal is for the rocket to display a countdown from 5 seconds to “Blast Off!” then launch into the sky.
Instructions:
1. Select the Rocketship sprite in the sprite list then click the “Code” tab at the upper left of the screen.
This will display a blank coding area where we can drag and drop our code blocks.
2. From the Events code block category at the left of the coding area, select and drag the ![]() block into the coding area.
block into the coding area.
This code block tells the program to start when the green flag above the Stage is clicked.
Code the rocket – countdown
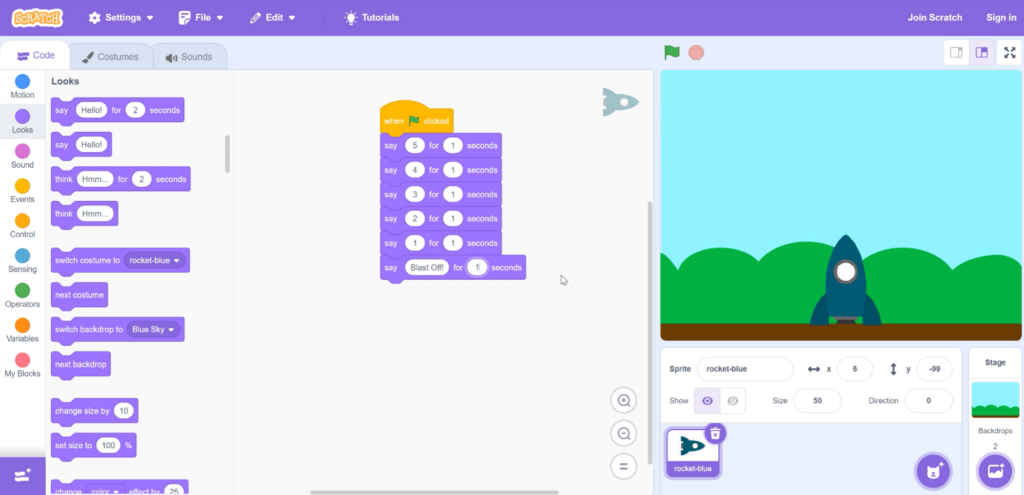
Next, let’s make the rocket display a countdown 5, 4, 3, 2, 1 “Blast Off!”.
To do this, we can use the “Say” code block from the Looks code category. The “Say” code block makes a sprite display a speech bubble. It enables the sprite to “say” something in the project.
Instructions:
1. From the Looks code category, drag the “say Hello! for 2 seconds” block under the “When green flag” clicked code block.
2. Change “Hello!” to 5 and change 2 seconds to 1 seconds.
Add the remaining Say blocks as shown in the illustration below.
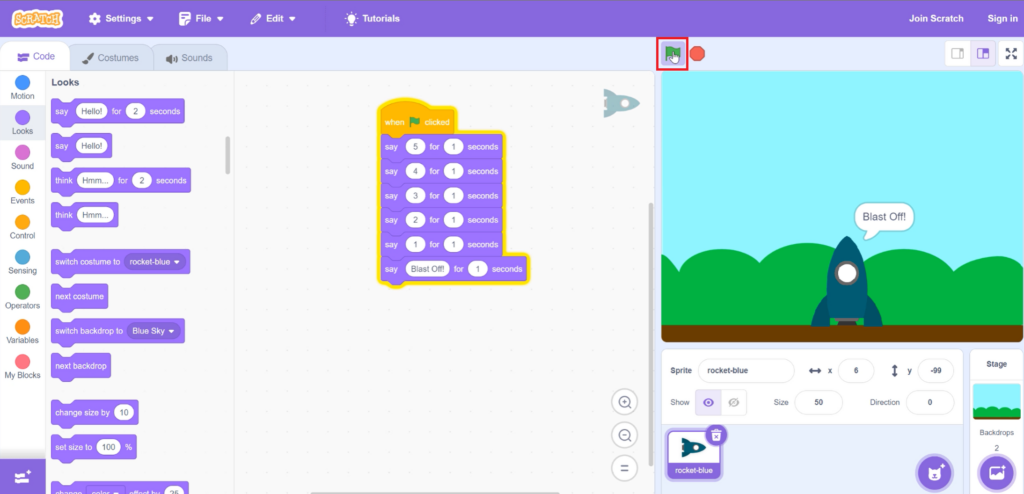
Next, let’s test your code by clicking the green flag above the Stage.
The rocket should now display a speech bubble with a countdown 5, 4, 3, 2, 1, Blast Off!
Code the rocket – launch
You probably noticed that the rocket doesn’t move once the countdown is finished.
To make the rocket move, we will need to add more code to the rocket sprite.
Instructions:
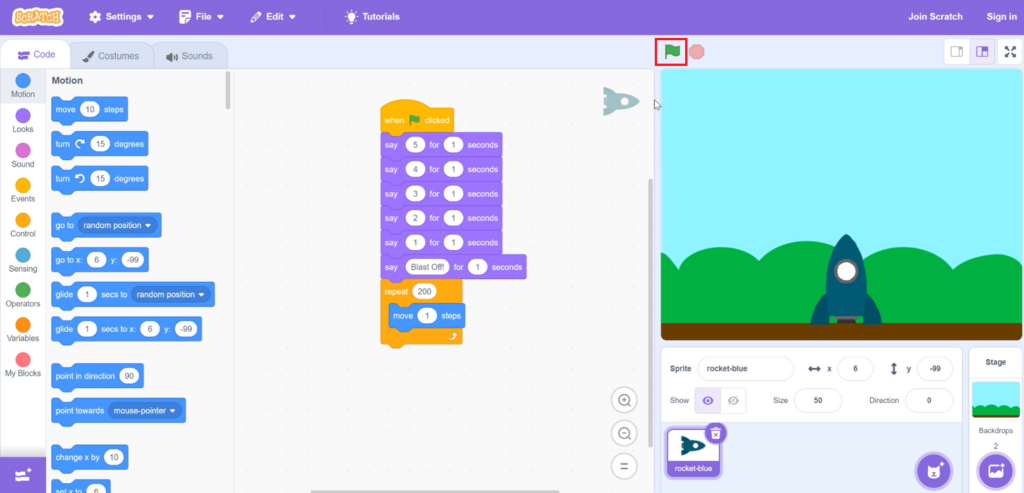
1. From the Control code category, drag the Repeat block under the Say block in the coding area then specify “200” as its value.
2. From the Motion code category, drag the Move() steps block inside the Repeat block then specify “1” as its value.
The Move() steps block moves a sprite forward the specified amount of steps in the direction it is facing. The Repeat block repeats a set of statements a specified number of times.
Together, this piece of code will move the rocket sprite 1 step repeatedly 200 times which will make it move smoothly into the air.
Test your code
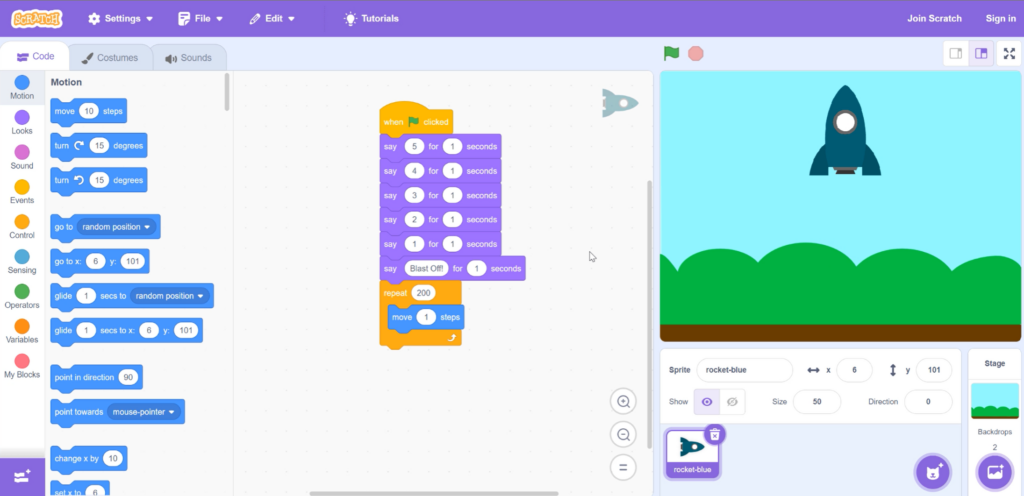
Click the green flag above the Stage to test your code.
After the countdown, the rocket should move smoothly upwards into the sky.
Congratulations on finishing your first coding project!
You are doing great!